Shortly after my marathon I saw an advertisement for a site
that would turn your bib into coasters. I thought it was a fun idea, but at the
same time I thought “hey I could do that!” So I decided to take on the
challenge of doing it myself. Ends up, it’s really rather easy!

What you will need:
1) A
copy of your bib, preferably about 8x8
2) Four
tiles, recommended 4x4 and with a slightly rough texture
3) Mod
Podge
4) Rubber
feet or felt pads
5) Sponge
brush
 |
| What you will need |
You will need a copy of your bib. I would not recommend
using your real bib. You can scan it or photo copy it. If the bib you want to
use is bigger than 8x8, try resizing it. It can be slightly bigger, but not
much bigger (you can have it go over the sides of the tile). I made two sets of
coasters, one was exactly 8x8 and the other was just a touch bigger. I
personally liked the look of the edges going over the sides a little.
I found that the best size for the tiles is 4x4. You will
want a slight texture to it, so that everything adheres better. You can find
these at the local hardware store. Next you will want some mod podge. I don’t
know a lot about mod podge, so I just grabbed one that said “glossy” at my
local craft store and it worked great.
You will want something for the bottom of your coasters to
protect the surface you put it on. I picked up little rubber feet at the
hardware store, but felt pads will also work. And lastly, you will need a
sponge brush. I unfortunately used a regular brush (I thought I had a sponge
brush but couldn’t find it) and I was picking bristles out of my mod podge the whole
time I was working with it.
Once you have all that, you are ready to get started.
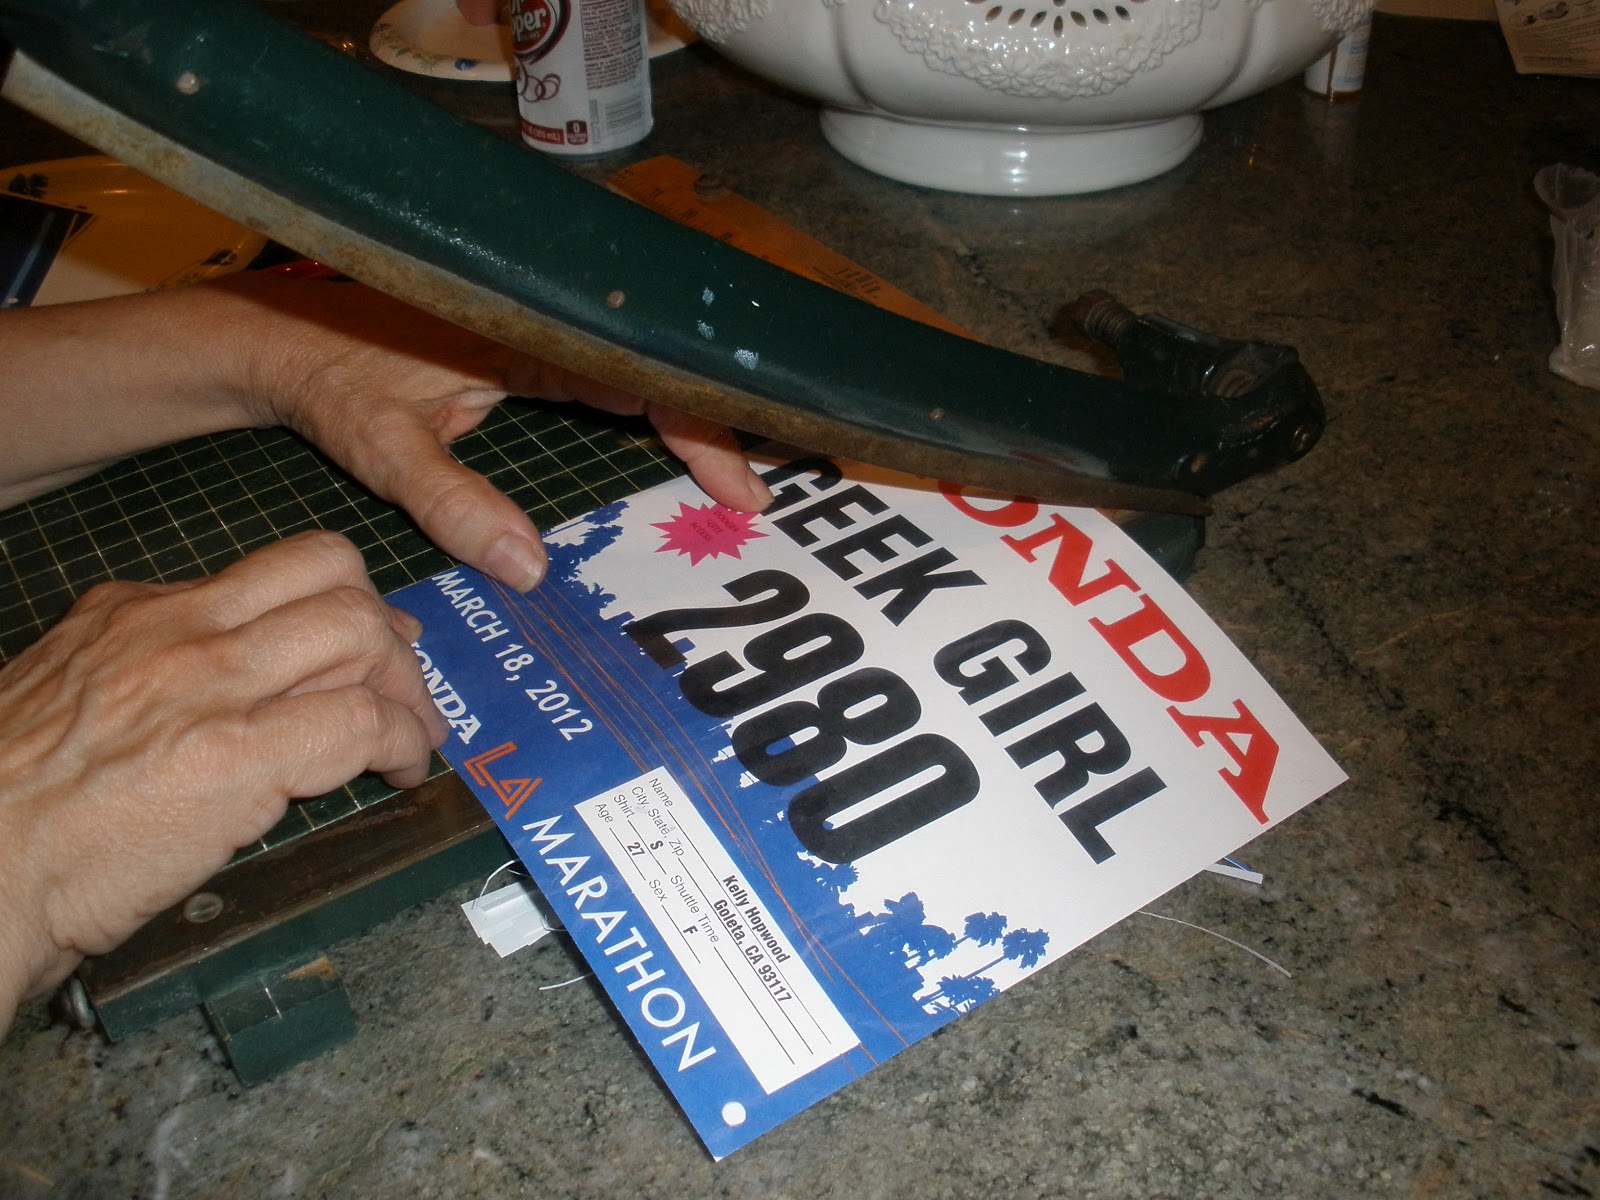
First cut the copy of your bib into 4ths (4x4 squares). I
used a cutting board to keep it exact, but if you don’t have one, use a ruler
to make sure of your measurements.

Next, brush a layer of mod podge onto the top of your tile
and place your first bib square on top. Use your brush to smooth it out and
work out all the bubbles. Once you have the bib where you want it on the tile
and smoothed out, brush a layer of mod podge on top, making sure to get the
edges fully covered and flat. Set the tile aside to dry and do the same with
the other three.
 |
| Layer of mod podge on top of tile |
 |
| First layer of mod podge over the bib |
Once the tiles are dry, I recommend brushing on another
layer of mod podge. I let it sit for about an hour before adding a second
layer. Some of you may want to even add a third. Although I did not do it, it
is recommended that you sand lightly between coats with a fine grain sandpaper
(I was worried about damaging the paper, so I didn’t). Once everything is dry,
put your rubber feet or felt pads on the bottom and voila, you are done!
 |
| Rubber feet on the bottom |
 |
| Done! |
That's a great DIY idea!
ReplyDeleteGreat tutorial. I know someone who does this as a business...and as a fundraiser for Team in Training.
ReplyDeleteI may need to do this myself now! Thanks.
ReplyDeleteOMG! A friend just sent me the link to this! I think I need to make some!
ReplyDeleteWhy don't you use the original bib?
ReplyDelete